BREAKING DOWN TASKS
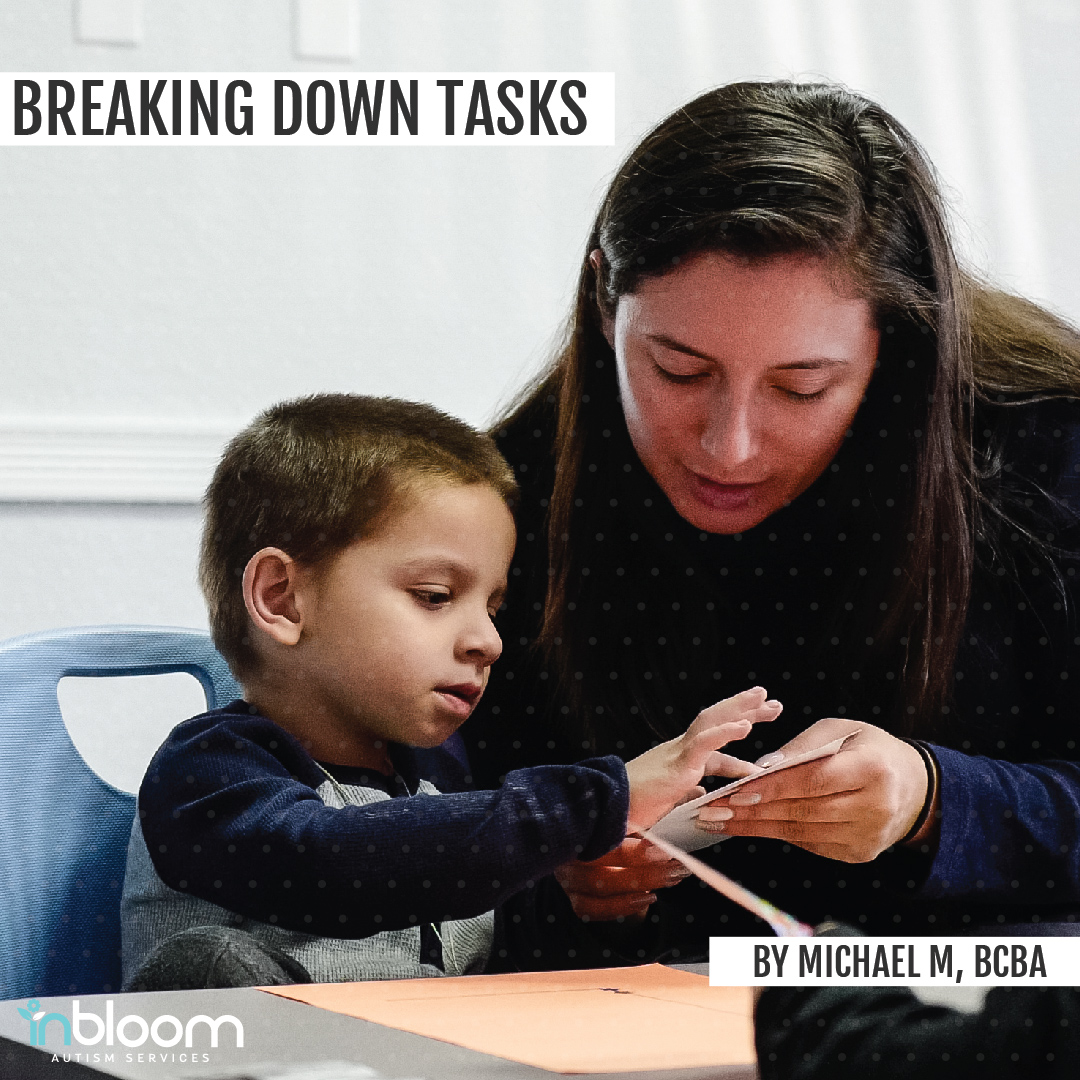
While most of go about our lives performing our daily living tasks day by day, we don’t really stop to think about how these tasks are actually a complex set of skills built into a sequence. Take washing your hands, for example. First you turn on the water, next you rinse your hands, then turn off the water, after that you reach for the soap….like I said, it’s a sequence of events, not just one action.
Sometimes when teaching kiddos new skills, we have to take the skill or skills in question and break them down into smaller, much more manageable tasks–just like we did in the example above. This particular action is know as a task analysis, and it allows us to practice a smaller skill and, over time, chain multiple skills together until a child can complete the full task.
By chaining several behaviors together, we are able to teach skills such as tying shoes or brushing teeth. Below is an example of a simple and a more detailed task analysis on brushing teeth. Remember your analysis might be shorter or longer than these two; it all depends on where your child is at. There is no real “right” answer for how long it needs to be, just long enough to be able to see which part or steps your child is having difficulty with.
A SHORT TASK ANALYSIS OF BRUSHING YOUR TEETH
- Pick up toothpaste
- Twist off cap
- Apply toothpaste to toothbrush
- Pick up toothbrush
- Turn on cold water
- Wet toothbrush
- Brush teeth
- Spit in sink
- Wash mouth out with water
- Spit out water
- Put cap on toothpaste
- Put toothpaste away
- Put toothbrush away
- Put cap on toothpaste
- Put toothbrush away
- Put toothpaste away
There is no real “right” answer for how long it needs to be, just long enough to be able to see which part or steps your child is having difficulty with.
A LONGER TASK ANALYSIS OF BRUSHING YOUR TEETH
- Find toothpaste and toothbrush
- Pick up toothpaste
- Unscrew toothpaste cap
- Lay cap on countertop
- Turn on cold water
- Pick up toothbrush
- Wet bristles of toothbrush
- Turn off water
- Apply toothpaste to wet toothbrush
- Lay toothpaste on countertop
- Bring toothbrush with paste up to mouth
- Brush teeth
- Left back: Top – outside then inside
- Left back: Bottom – outside then inside
- Then front: Top – outside then inside
- Then front: Bottom – outside then inside
- Then right back: Top – outside then inside
- Then right back: Bottom – outside then inside
- Take toothbrush out of mouth
- Turn water on
- Spit toothpaste into sink
- Rinse toothbrush under water
- Shake water off brush
- Put away toothbrush
- Pick up cup
- Fill cup with cold water
- Rinse mouth with water
- Spit water into sink
- Put away cup
- Pick up toothpaste tube
- Pick up toothpaste cap
- Screw cap back on toothpaste tube
- Put away toothpaste
“SO, HOW DO I MAKE A TASK ANALYSIS?”
The first step is to figure out what skill you want to teach. Once you have decided the skill you want to teach, you next need to break it down into those smaller steps. There are a few ways to figure out the smaller steps. You can either complete the skill yourself, you can watch an expert do it via a video, or lastly, you can have a family member complete it too and watch them. When having a family member do it, you can teach the skill according to how your family typically performs these tasks.
Each family varies in how they do things, so it’s important to take the steps your family takes into consideration. After watching/completing the step a few times, then it is time to break it down. To break the skill down you need to write out each step that is needed for the skill to be completed. Remember that the more steps you create to put into the task analysis the easier it will be to understand which steps the learner can complete on their own and the ones may be more difficult.
“HOW SHOULD I USE WHAT I JUST MADE?
Once you have broken down the skill, now it is time to test and see what your kiddo can do. The best way to track your kid’s progress is to write the skill down in a list format and indicate which parts of the tasks analysis our child was able to complete and which ones they will need extra support with. You might want to test your child on these skills at least twice to get a “baseline” on where your child is before you start teaching the skill. Once you have your “baseline” you can now start working on the skill with the kiddo. Use the information you collected to see which steps your child is already able to do and which ones they are unable to complete.

SQUEEZE TOOTHPASTE ONTO TOOTHBRUSH
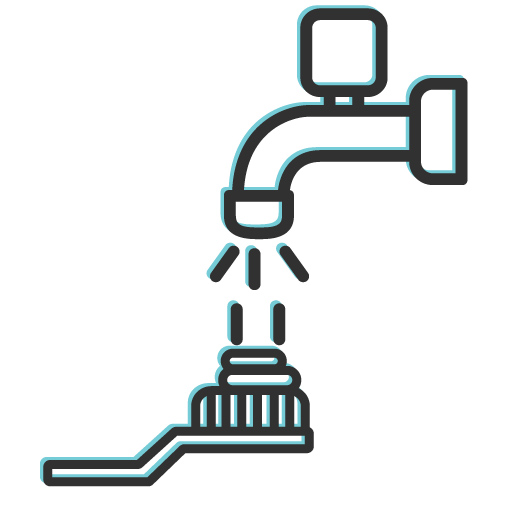
HOLD TOOTHBRUSH UNDER WATER TO GET IT WET
BRUSH TEETH

SPIT TOOTHPASTE INTO THE SINK
nnnnn
REMEMBER, PRACTICE MAKES PERFECT!
Keep working with your kiddo on each step until they can complete the step on their own. Once they can complete the step on their own consistently, it is time to add the next step. For example, if I were working on shoe tying, I would start off with the child picking up both laces and just crossing them over. Once the child was able to do this step at least 5 times in a row on their own, I would then add the next step. For my break down, it would be taking one of the laces and passing it under the loop made by crossing the laces during the first step. Now before adding the next step, I would want my child to be able to not only be able to do the first step but also the second step with it at least 5 times on their own before adding the following step. From there you can keep adding steps until the kiddo is able to complete each step in the task analysis independently.
Because we are all unique in how we learn, you might see that you need to break down certain steps further.
TIPS & TRICKS
First off, know that mistakes will happen, and that is OKAY!!! Have a reward for your child to be working for. Sometimes our learners need extra motivation, as these tasks can be incredibly challenging. After all, no one likes doing work for free! When those mistakes happen, you should provide extra assistance to your child. We call that action providing prompts. Prompts are extra help given to the child to ensure they succeed and complete the step. You could provide physical prompts, which would be you doing hand over hand movements with your child to complete the step. If your child understands verbal language you could provide prompts verbally on what to do and what to do next. Another prompt would be to model to your child what the step looks like. You can also add visuals to help show different steps of the task analysis to help remind the kiddo of what to do next when completing the skill (see below for an example of this).
An important thing to consider is that you want to fade your prompts over time, this way the child is completing the steps on their own and not because you are aiding them in completing the steps. For example, if you are providing physical prompts of hand over hand assistance, you than would fade to possible providing physical guidance by touching the elbow.
If you see your child having further trouble with certain steps, you might need to break that skill down further. Remember the more broken down and detailed the steps are, the easier it is to see which specific part/step the kiddo is having the most trouble with. However, as stated above, remember there is no “right” answer on how long it needs to be. The important thing is that you can pinpoint the specific step/part your kiddo is having trouble with. Also, because we are all unique in how we learn, you might see that you need to break down certain steps further, like the long example above, or you might need to have a simple version as the one outlined above. Make changes based on your child’s progress.
Another tip is to know that when working on the different steps in the task analysis, certain steps need to be completed in a specific order, while for other skills the sequence might not make a big difference. For example, when working on toilet training, the task analysis I have created states that the child does the following steps:
- Pulls up underwear
- Pulls up pants
- Flushes toilet
However, when it comes to tracking the progress on these steps for me, it is okay if the child chooses to flush the toilet first before pulling up their underwear and pants. To provide an example of when the order does matter, think of brushing your teeth. It is imperative that the child have toothpaste on the toothbrush before brushing.
Lastly, always reach out to your behavior team at InBloom Autism Services if you need further help. We’re here to guide your family and kiddo through this journey with personalized support, including ABA therapy, so that everyone can come out stronger.
ABOUT THE AUTHOR

MICHAEL M, BCBA
Michael earned his undergraduate degree in behavioral science from Western Michigan University in 2014 and moved to Tampa the following year to get his master’s in Applied Behavior Analysis from University of South Florida. He became a BCBA in May of 2018 and began working with InBloom in January of 2020. Michael has worked across a variety of settings, such as group homes, schools, and clinics. Across all those settings he has been able to work with people aging in range of 3 years old to 80 years old.


